Docker based Continuous Integration for perl projects
Here are the steps to getting started
- Fork my sample perl project setup for CI
- Sign in to Shippable
- Login to Shippable using your GitHub or Bitbucket credentials.
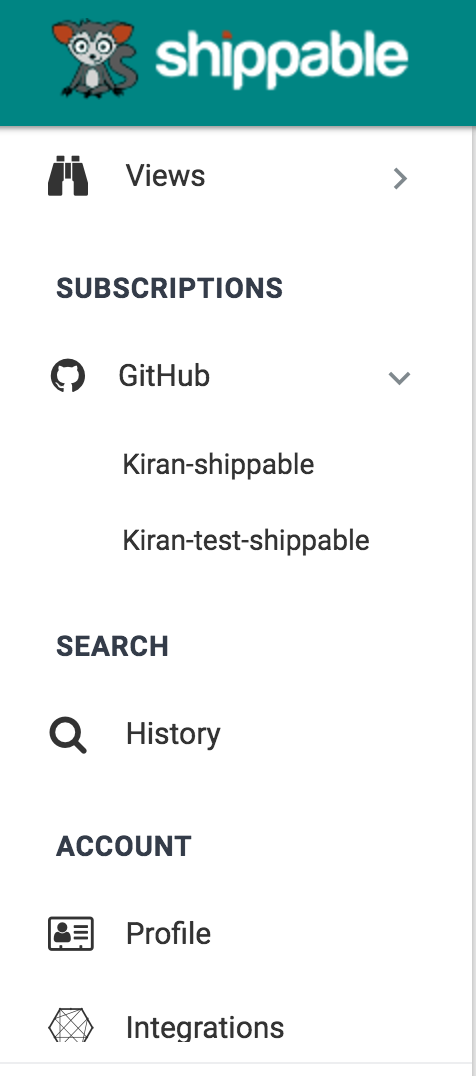
- Enable the project
On the Shippable landing page, select your subscription from the Subscriptions dropdown. This should be the subscription where you forked the repository. Click on your GitHub/bitbucket name
click on the Enable Project button. If you have not enabled any projects on Shippable, you will be directly be taken a page which shows a list of your repositories.
Find the Docker-CI-perl project and click on the Enable button. You will be taken to a page which shows that Status as Not built, towards the right of that table there is a build button. Click on that to start a build.
while the build is running you can on the id ( # column ) to look at the console. Once the build is done you can look at the test results.
I have used this perl Docker image
Add a test and push a commit, build is automatically triggered.
You can add integrations to trigger a irc, slack, hipchat message on build
Edit the cpanfile to add your modules
Edit shippable.yml file to add/modify your run options.
I plan to create another post on deployment next. Let me know if you have any questions or need help in setting this up
 I blog about Perl.
Leave a comment